The Phases of Pool Building
Building a pool requires good planning and time management, so take time to understand all the steps involved.
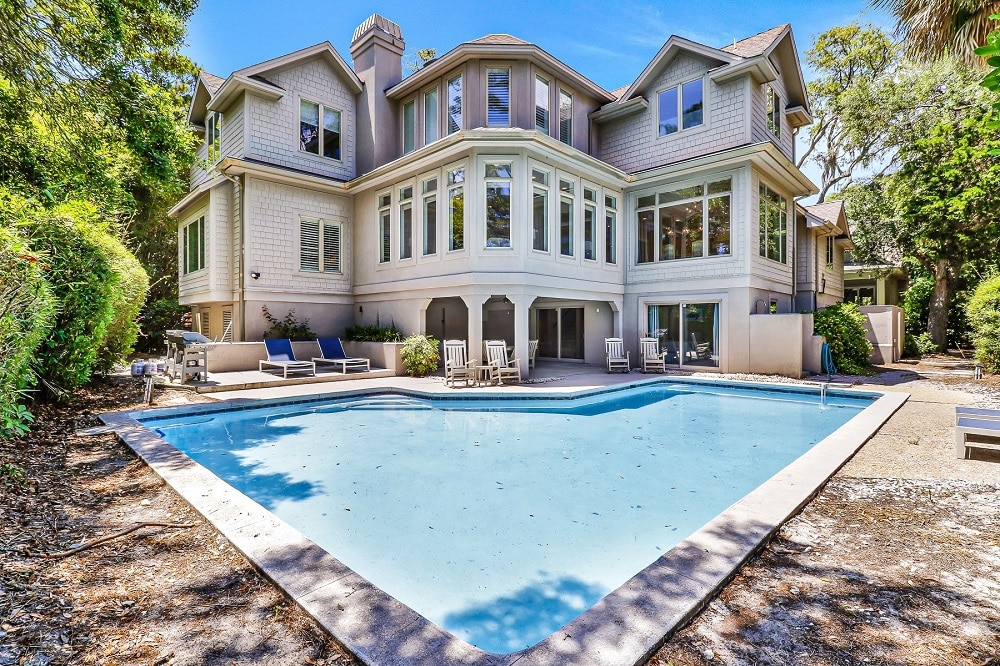
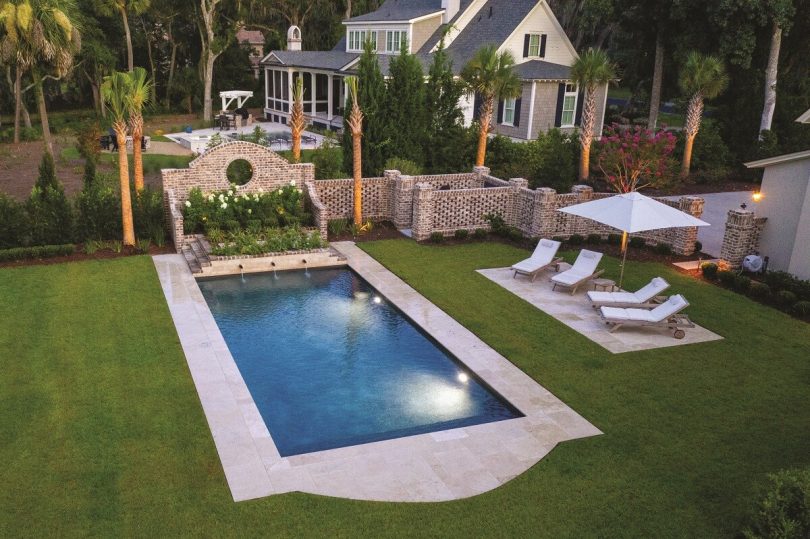
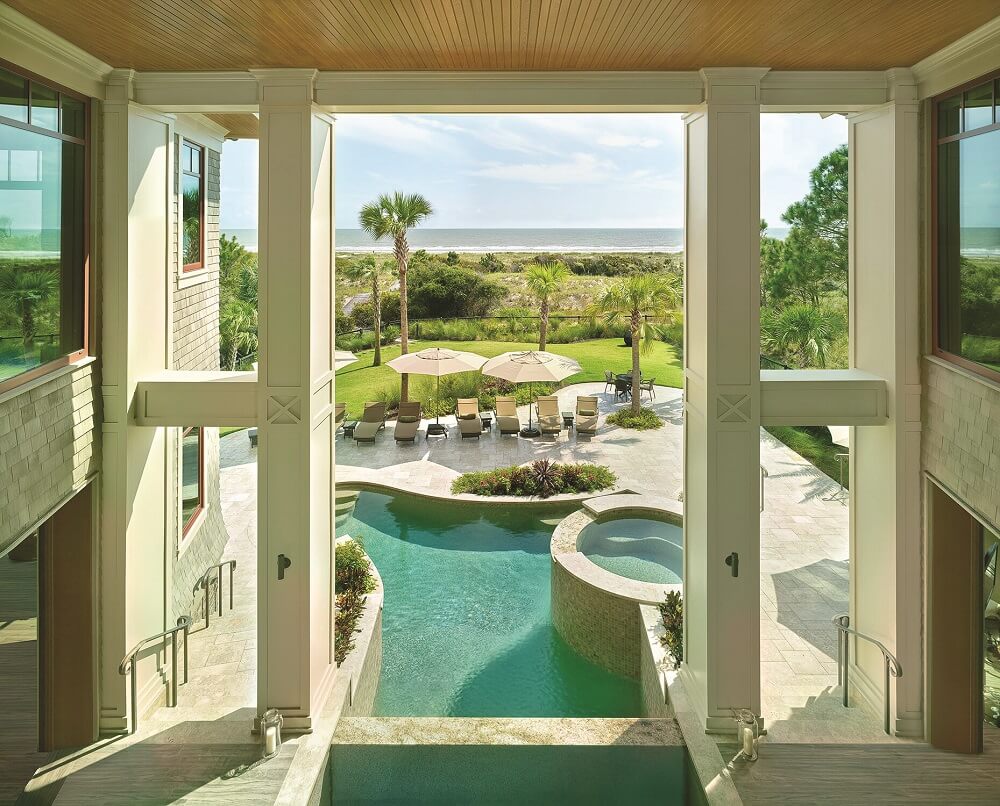
Water features add value and beauty to any home, and when designed well, can become the focal point of a yardscape. Having the pool of your dreams starts with choosing an experienced design team and using reliable design methods. What follows is a series of carefully coordinated design stages that ultimately ensure a beautiful pool and an optimum swimming experience.
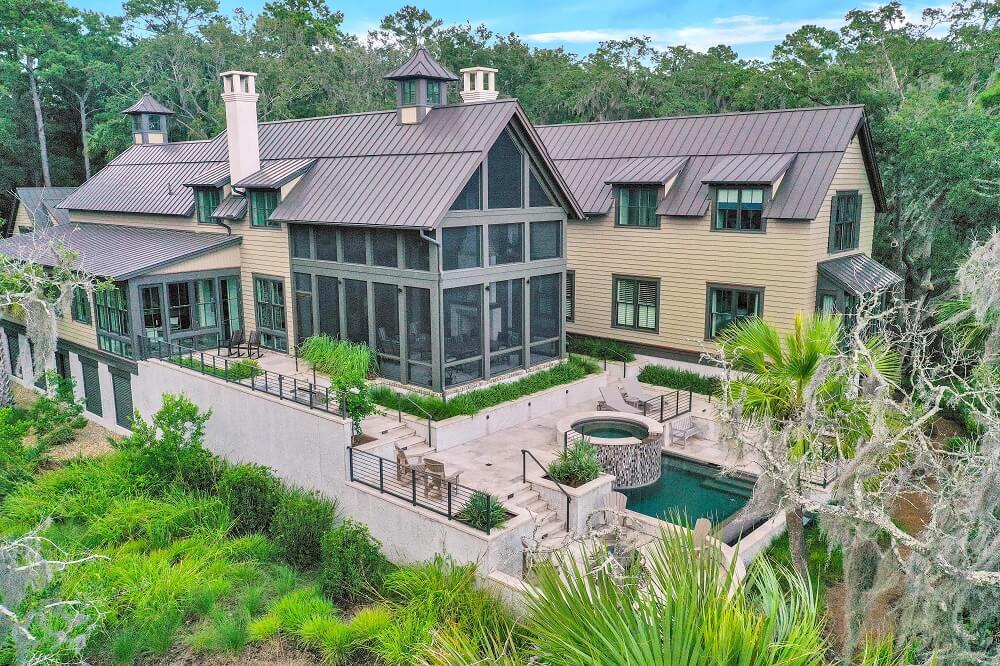
Designing and creating pools in the lowcountry has become the trademark of Year Round Pool. Withover a hundred years combined experience designing commercial and residential pools, this solid company knows a few things about the process. They also know what customers really want. Features such as vanishing edge pools, spas, zero depth beach entries, waterfalls, and a variety of pebble tech finishes can make each pool an individual work of art increasing the enjoyment of family and guests. To understand the process better, we followed the pros at YRP to get first-hand insight in to the steps required to build a masterpiece.
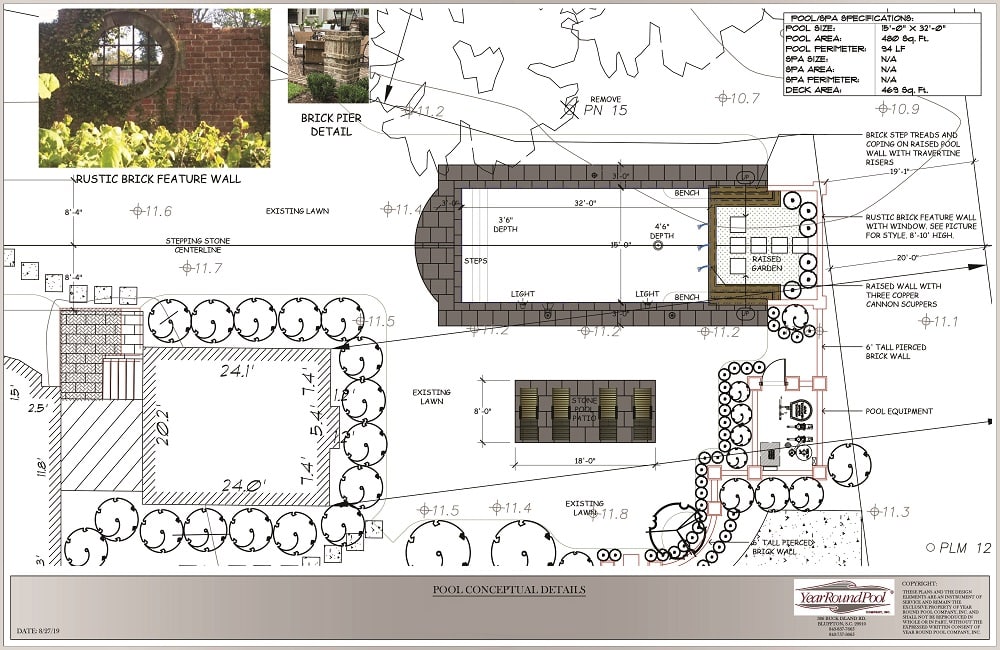
The design process starts with conceptual drawings made through computer aided design technology and3-Dimensional Conceptual Design software. Clients are able to see a three dimensional representation of their one-of-a-kind pool before it is constructed.
To complete the pool build, YRP incorporates the talents of the area’s top craftsmen in the areas of stone and brick and expert landscape architects that provide the natural decor for your pool’s environment. While being aleader in new pool construction and pool cleaning service, YRP also offers renovation services to give older pools anew and updated look. Replacing waterline tile, interior finish, and replacing existing decks all work to make your pool look like new again.
Let’s take a closer look at the individual stages of building an inground gunite pool, noting that each phase is built upon the previous phase’s accomplishments andcompleted by a trained crew.
Phase 1: Design and Drawing
It all begins with an in-home consultation. Designers are familiar with creating backyard designs that blend and compliment the surrounding natural elements. You can expect your pool designer to fully understand your vision, scope, and detail of the project while allowing room for improvements, upgrades, and the features that will make your pool uniquely yours. Your pool designer will first consider such things as your lot size and topography, property line setbacks, easements and underground utilities. Your budget will be important, as well as what style and shape pool you had in mind. Unless you have it all figured out, your pool designer will show you many options.
Once the shape, style and size is nailed down, you and your designer may discuss water features and many other options available including automation and in-floor cleaning. Do you want a spa attached to the pool? There are options for tile and coping, interior finish and advanced features such as infinity edges, beach entries, shallow water benches or tanning areas. For the pool deck you will also have many choices to make on size, materials, texture and accents. The possibilities for pool design are numerous.
Then the pool equipment choices, also endless. Slide and dive equipment, ladders and rails, automatic pool cleaners. Many builders will have a pump, filter and heater manufacturer that they are aligned with, often either Hayward, Pentair or Jandy. You will also likely be offered salt chlorine generators, mineral sanitizer units, or ozonators. Want to control the equipment from remote locations? Controllers will manage lights, pumps, heater from inside the house, or even from your smartphone. Want an eco-friendly pool? Heat pumps or Solar pool heaters have zero emissions, Cartridge filters save water, LED pool lighting and Two-speed orVariable speed pumps will drasticallyreduce your energy consumption.
After all of these items are agreed to, the designer can begin drawing up the plans. After meeting with you again to confirm the choices, your designer submits the plans to obtain the necessary city or county permits. If you belong to a Homeowner’s Association, they will need to approve the pool addition.
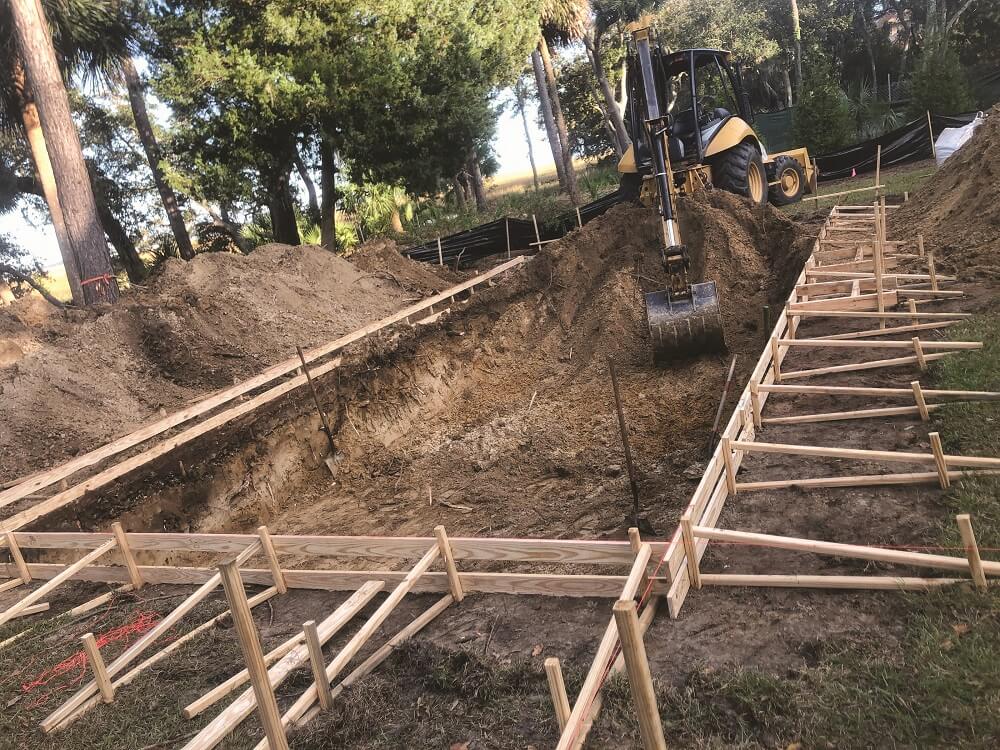
Phase 2: Dig
Once the design and location to construct the swimming pool is fixed, the next procedure is to excavate the area to prepare for construction. It is conducted by the following steps:
1.Form the perimeter of the swimming pool using wood forms.
2.Use a backhoe to remove the earth within the perimeter of the pool.
3.Dig the area, taking into consideration the space that is occupied by the swimming pool floor. The dimension of cutting the soil is accurately followed as per the design plan in hand.
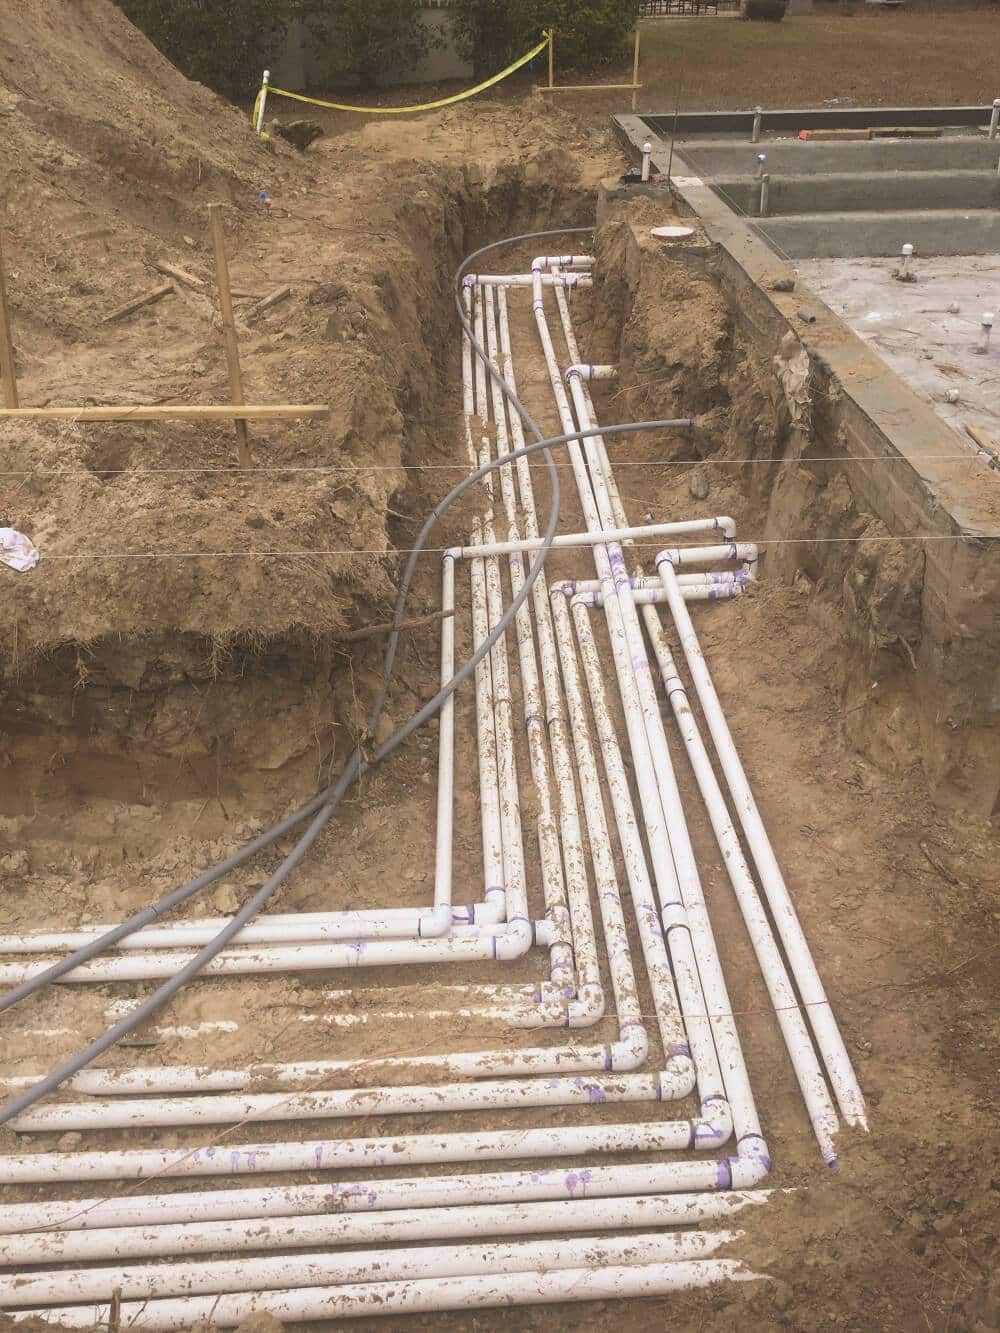
Phase 3: Piping
The pre-plumb with fit all required pipes, lines, lights and skimmer to the pool shell. All light sand internal pool electrical lines will also be laid. Pipes will be capped off and pressure tested to ensure no leaks. Pipes will either be run just outside the pool shell or run all the way to the finished equipment location for all equipment to be fitted and connected at a later step.
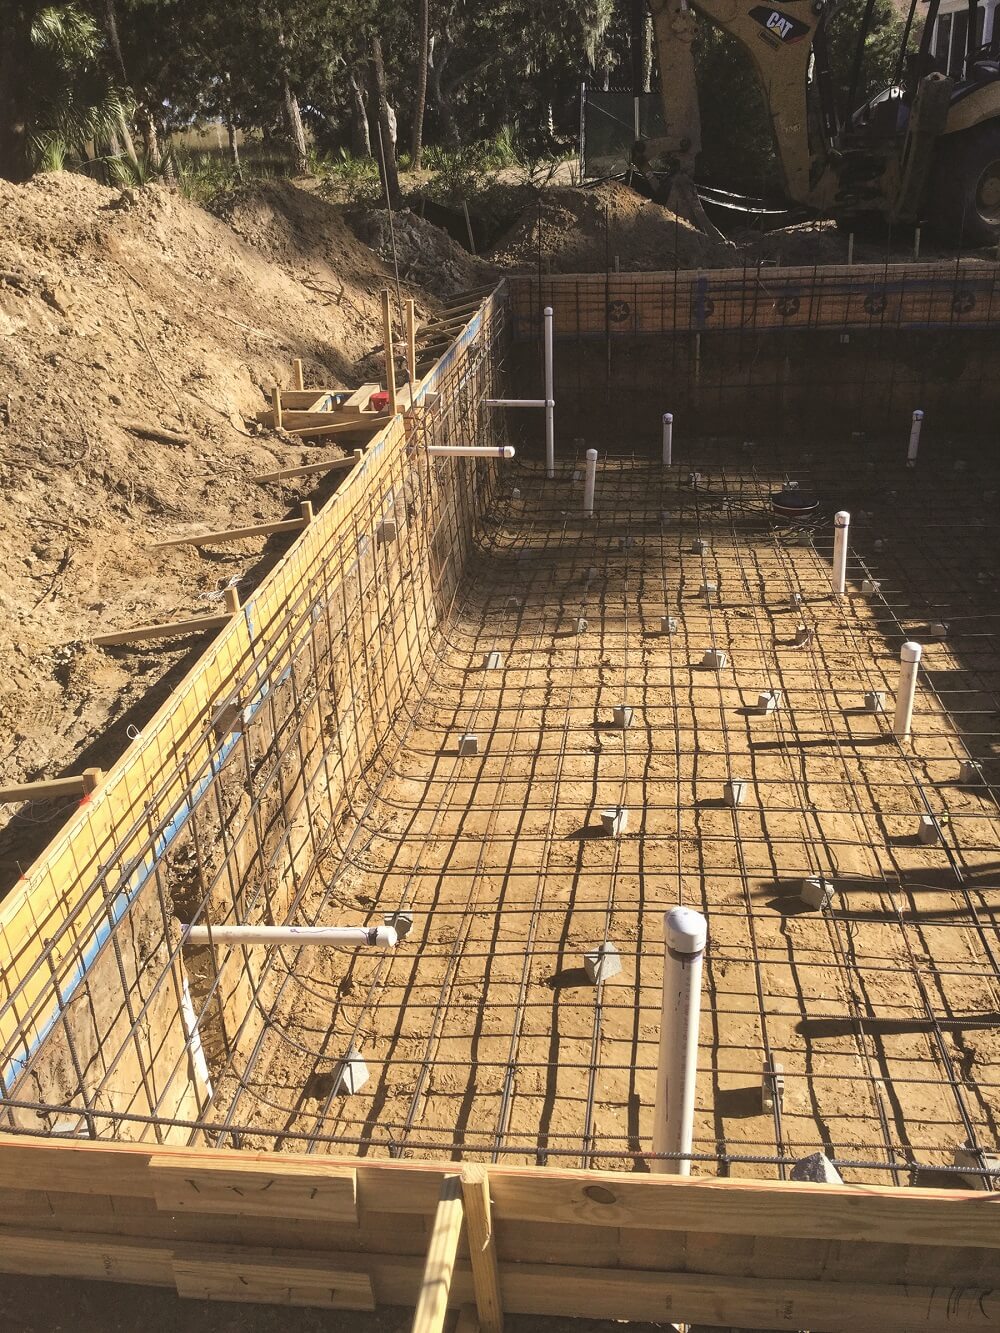
Phase 4: Steel
A crisscross steel cage will be constructed around the entire pool dig out for the concrete to be sprayed over. This reinforced steel cage is critical to the structural integrity of the pool. Each rebar is precisely laid in place and tied off as per the engineers plans and requirements.
Phase 5: Shoot
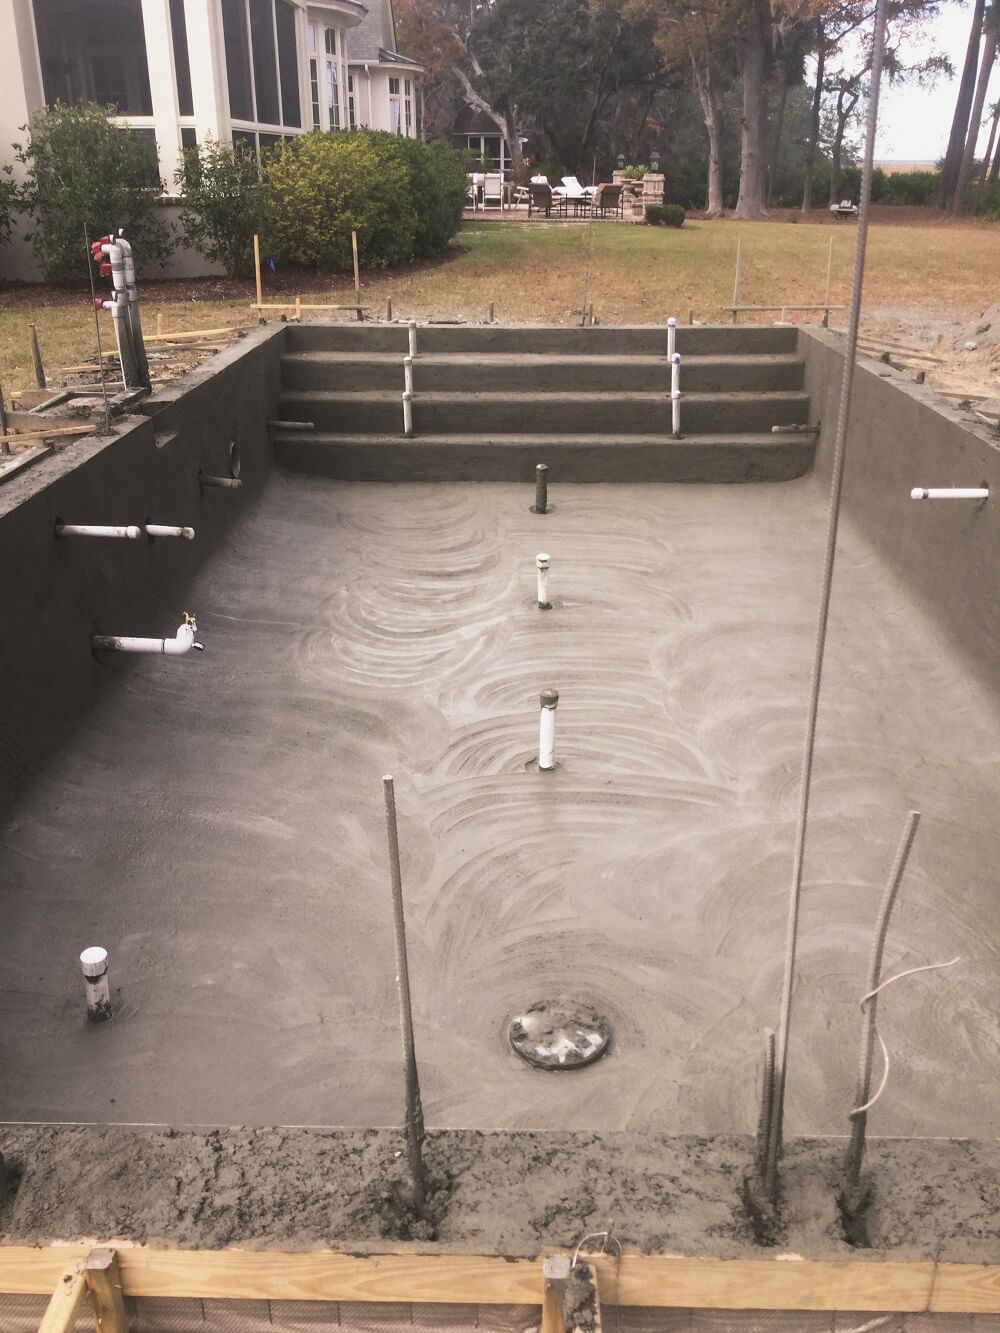
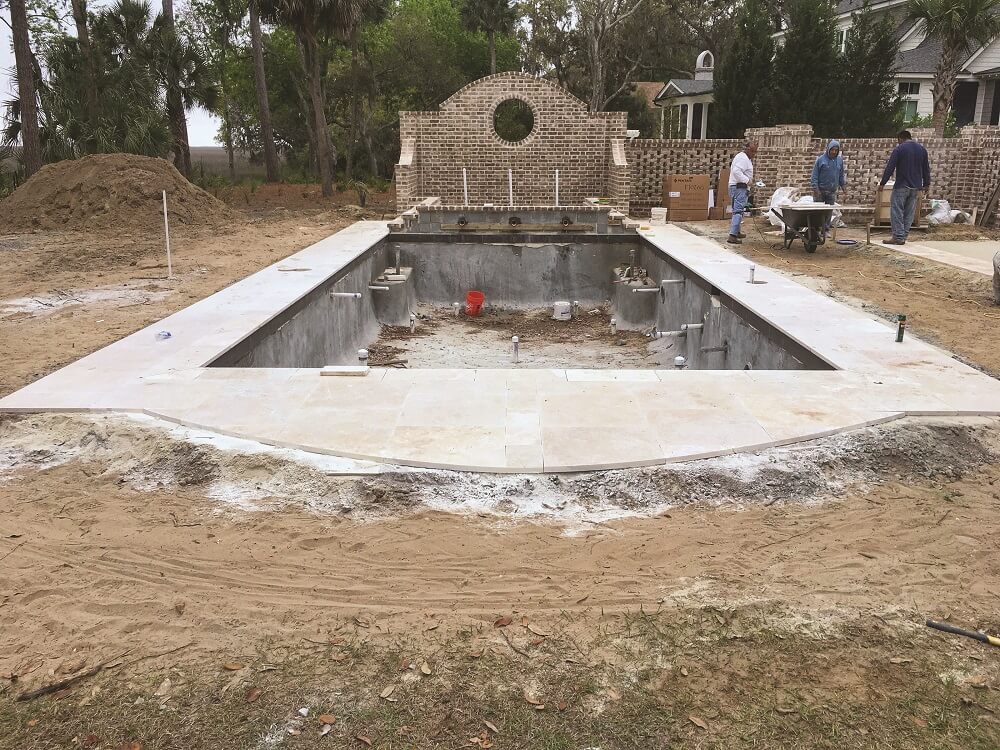
Spray the concrete. At this point in the process (gunite or shotcrete),concrete trucks will arrive on the scene and the concrete will be sprayed into the rebar grid under pressure. This process will take many hours, and quality work is important here to make sure you have a long-lasting pool. When this process is complete, you will see the shape of your pool.
Phase 7: Equipment
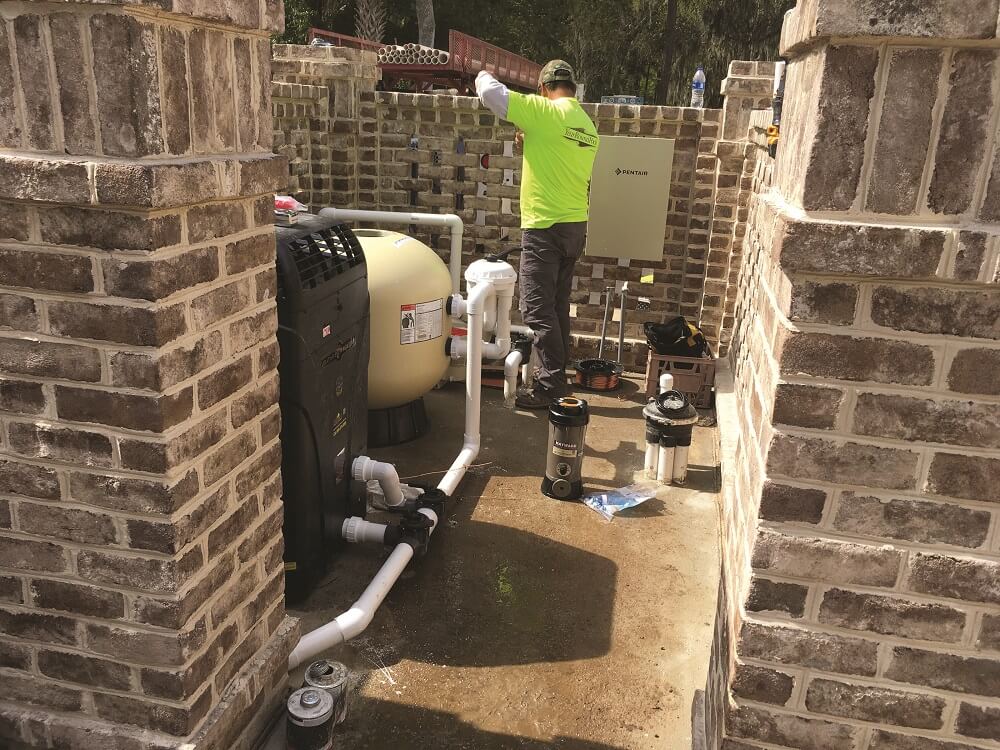
Before commencing installing any equipment all plumbing lines are pressure tested to ensure that there has been no damage during construction. All pools will require a filter pump like a Pentair Whisper floor an Energy Saving pump like the Pentair Variable Speed pump, a sand filter like the Pentair Triton TR-60,lighting and a sanitizing system. Many pools will also have a gas heater or a heat pump that can heat and cool the pool water.
Phase 8: Interior Finish
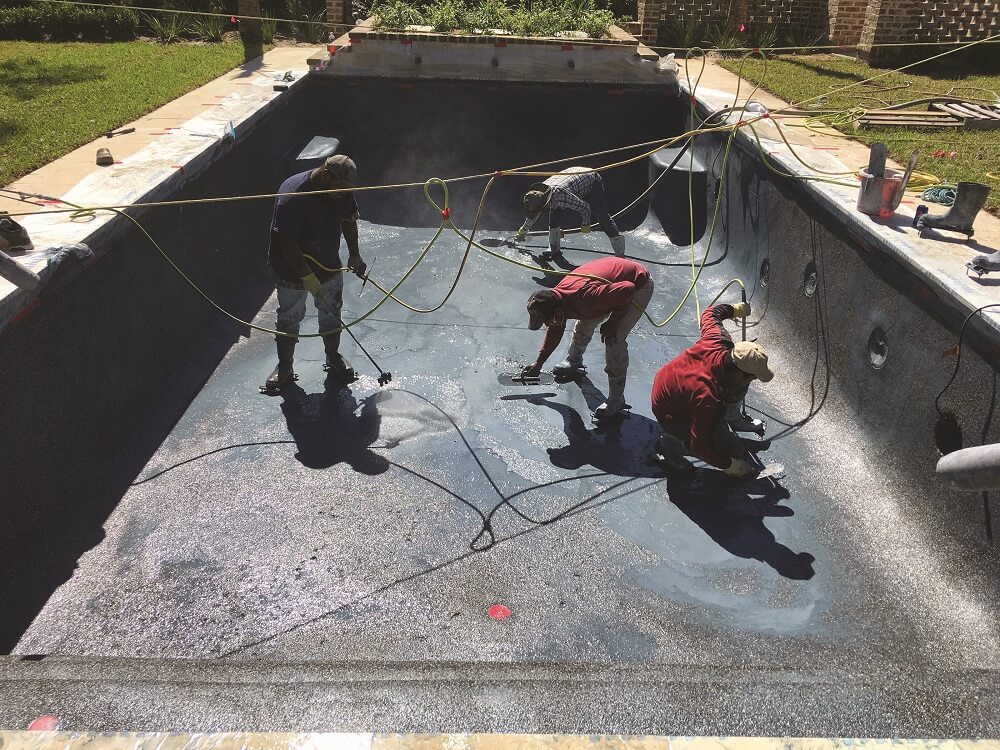
The final phase is plastering your pool’s interior surface. There are several options to use that will make your pool’s finish unique. Watching a plaster crew in action is really something, they work fast, and a crew of 4-5 can have it done in3-4 hours. When they leave the pool will be filling with water. To see some of these masterpiece pools created by YRP, visit our pool gallery at www.yearroundpool.com.

